> For the complete documentation index, see [llms.txt](https://docs.fiammalabs.io/llms.txt). Markdown versions of documentation pages are available by appending `.md` to page URLs; this page is available as [Markdown](https://docs.fiammalabs.io/our-product-suite/pragmatically-trustless-bitvm-bitcoin-bridge/user-guides/testnet-beta/copy-of-how-to-deposit-and-withdraw-on-fiamma-bridge.md).
# Copy of How to Deposit and Withdraw on Fiamma Bridge?
**Prerequisite**
To begin, you'll need two wallets that support EVM-compatible and BTC addresses, along with the corresponding test tokens.
* Bitcoin Signet
* Wallet: [Unisat](https://unisat.io/), [OKX](https://web3.okx.com/), [Bitget](https://web3.bitget.com/en), [Xverse](https://www.xverse.app/)
* Faucet:
* Ethereum Holesky Testnet
* Wallet: [Metamask](https://metamask.io/) and others
* Faucet:
### How to Deposit
> Transfer sBTC from Signet to another chain (e.g., Ethereum Holesky).
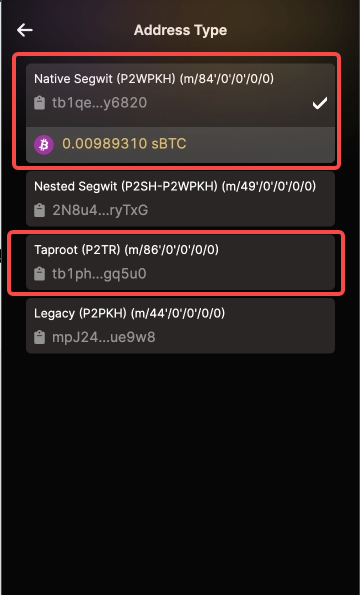
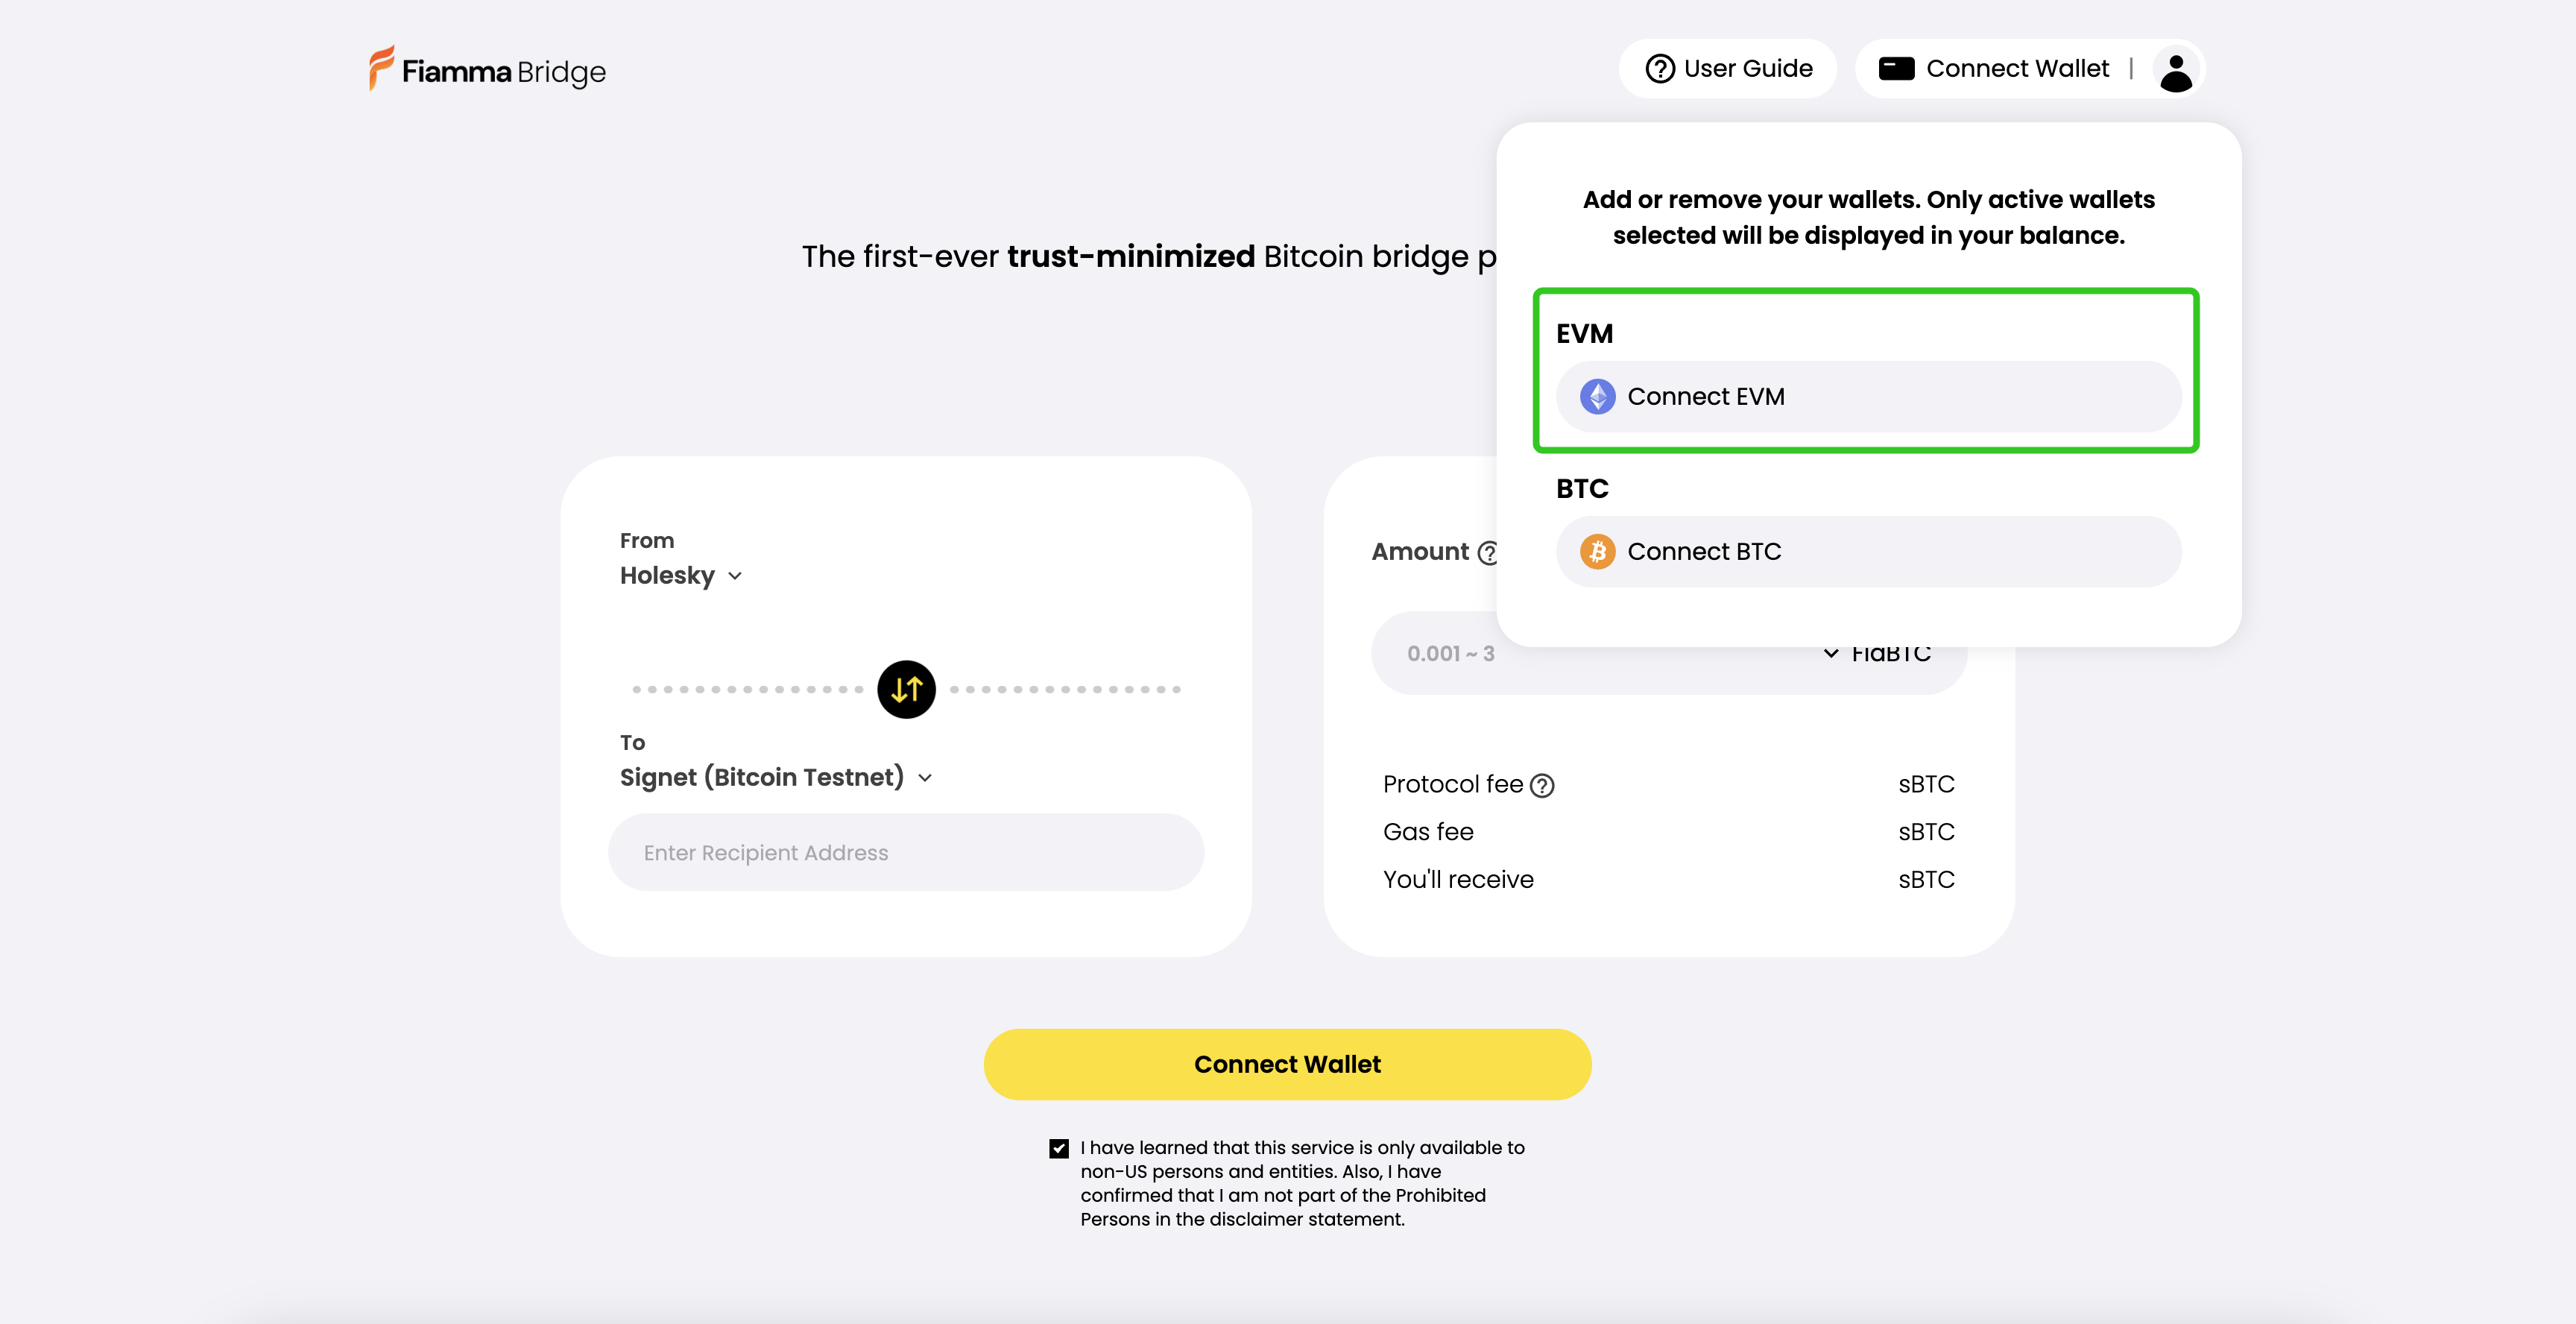
1. Connect Bitcoin Wallet
Please note that we only support Native Segwit and Taproot address types in beta-testnet.
2. Connect EVM Wallet (Optional)
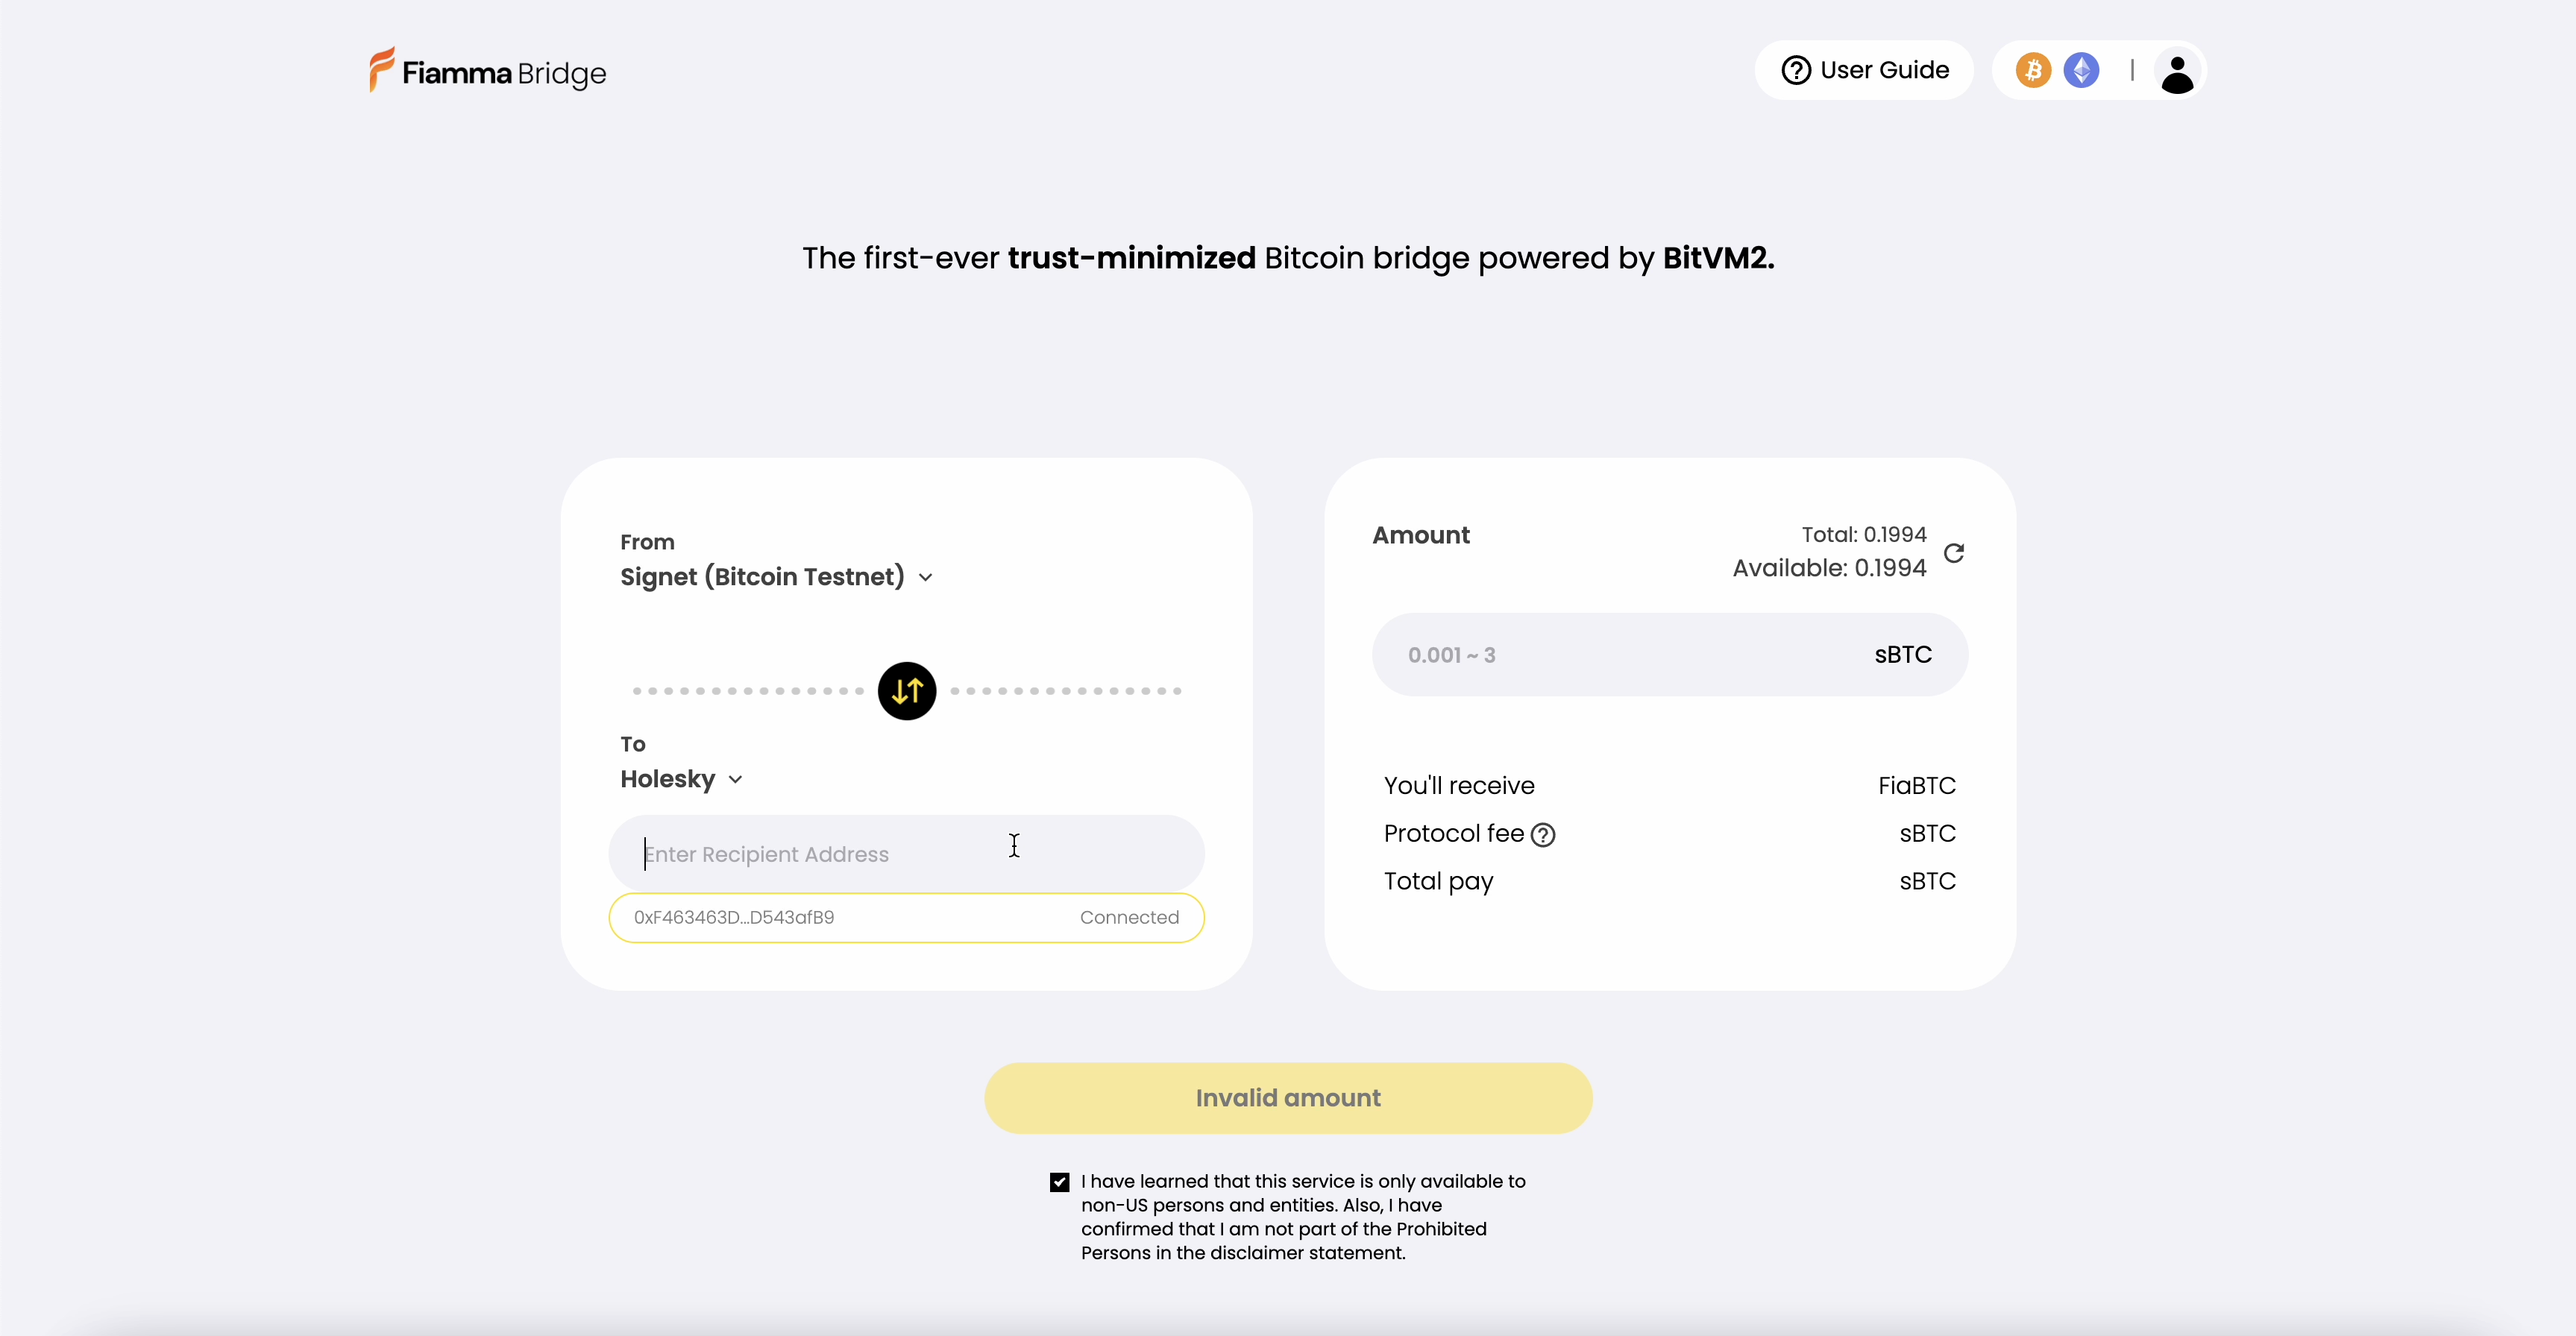
3. Enter the recipient's address in the designated field.
> If you have connected to an EVM wallet, an autofill option will appear below the text field
4. Enter deposit amount from `0.001` to `3 sBTC`
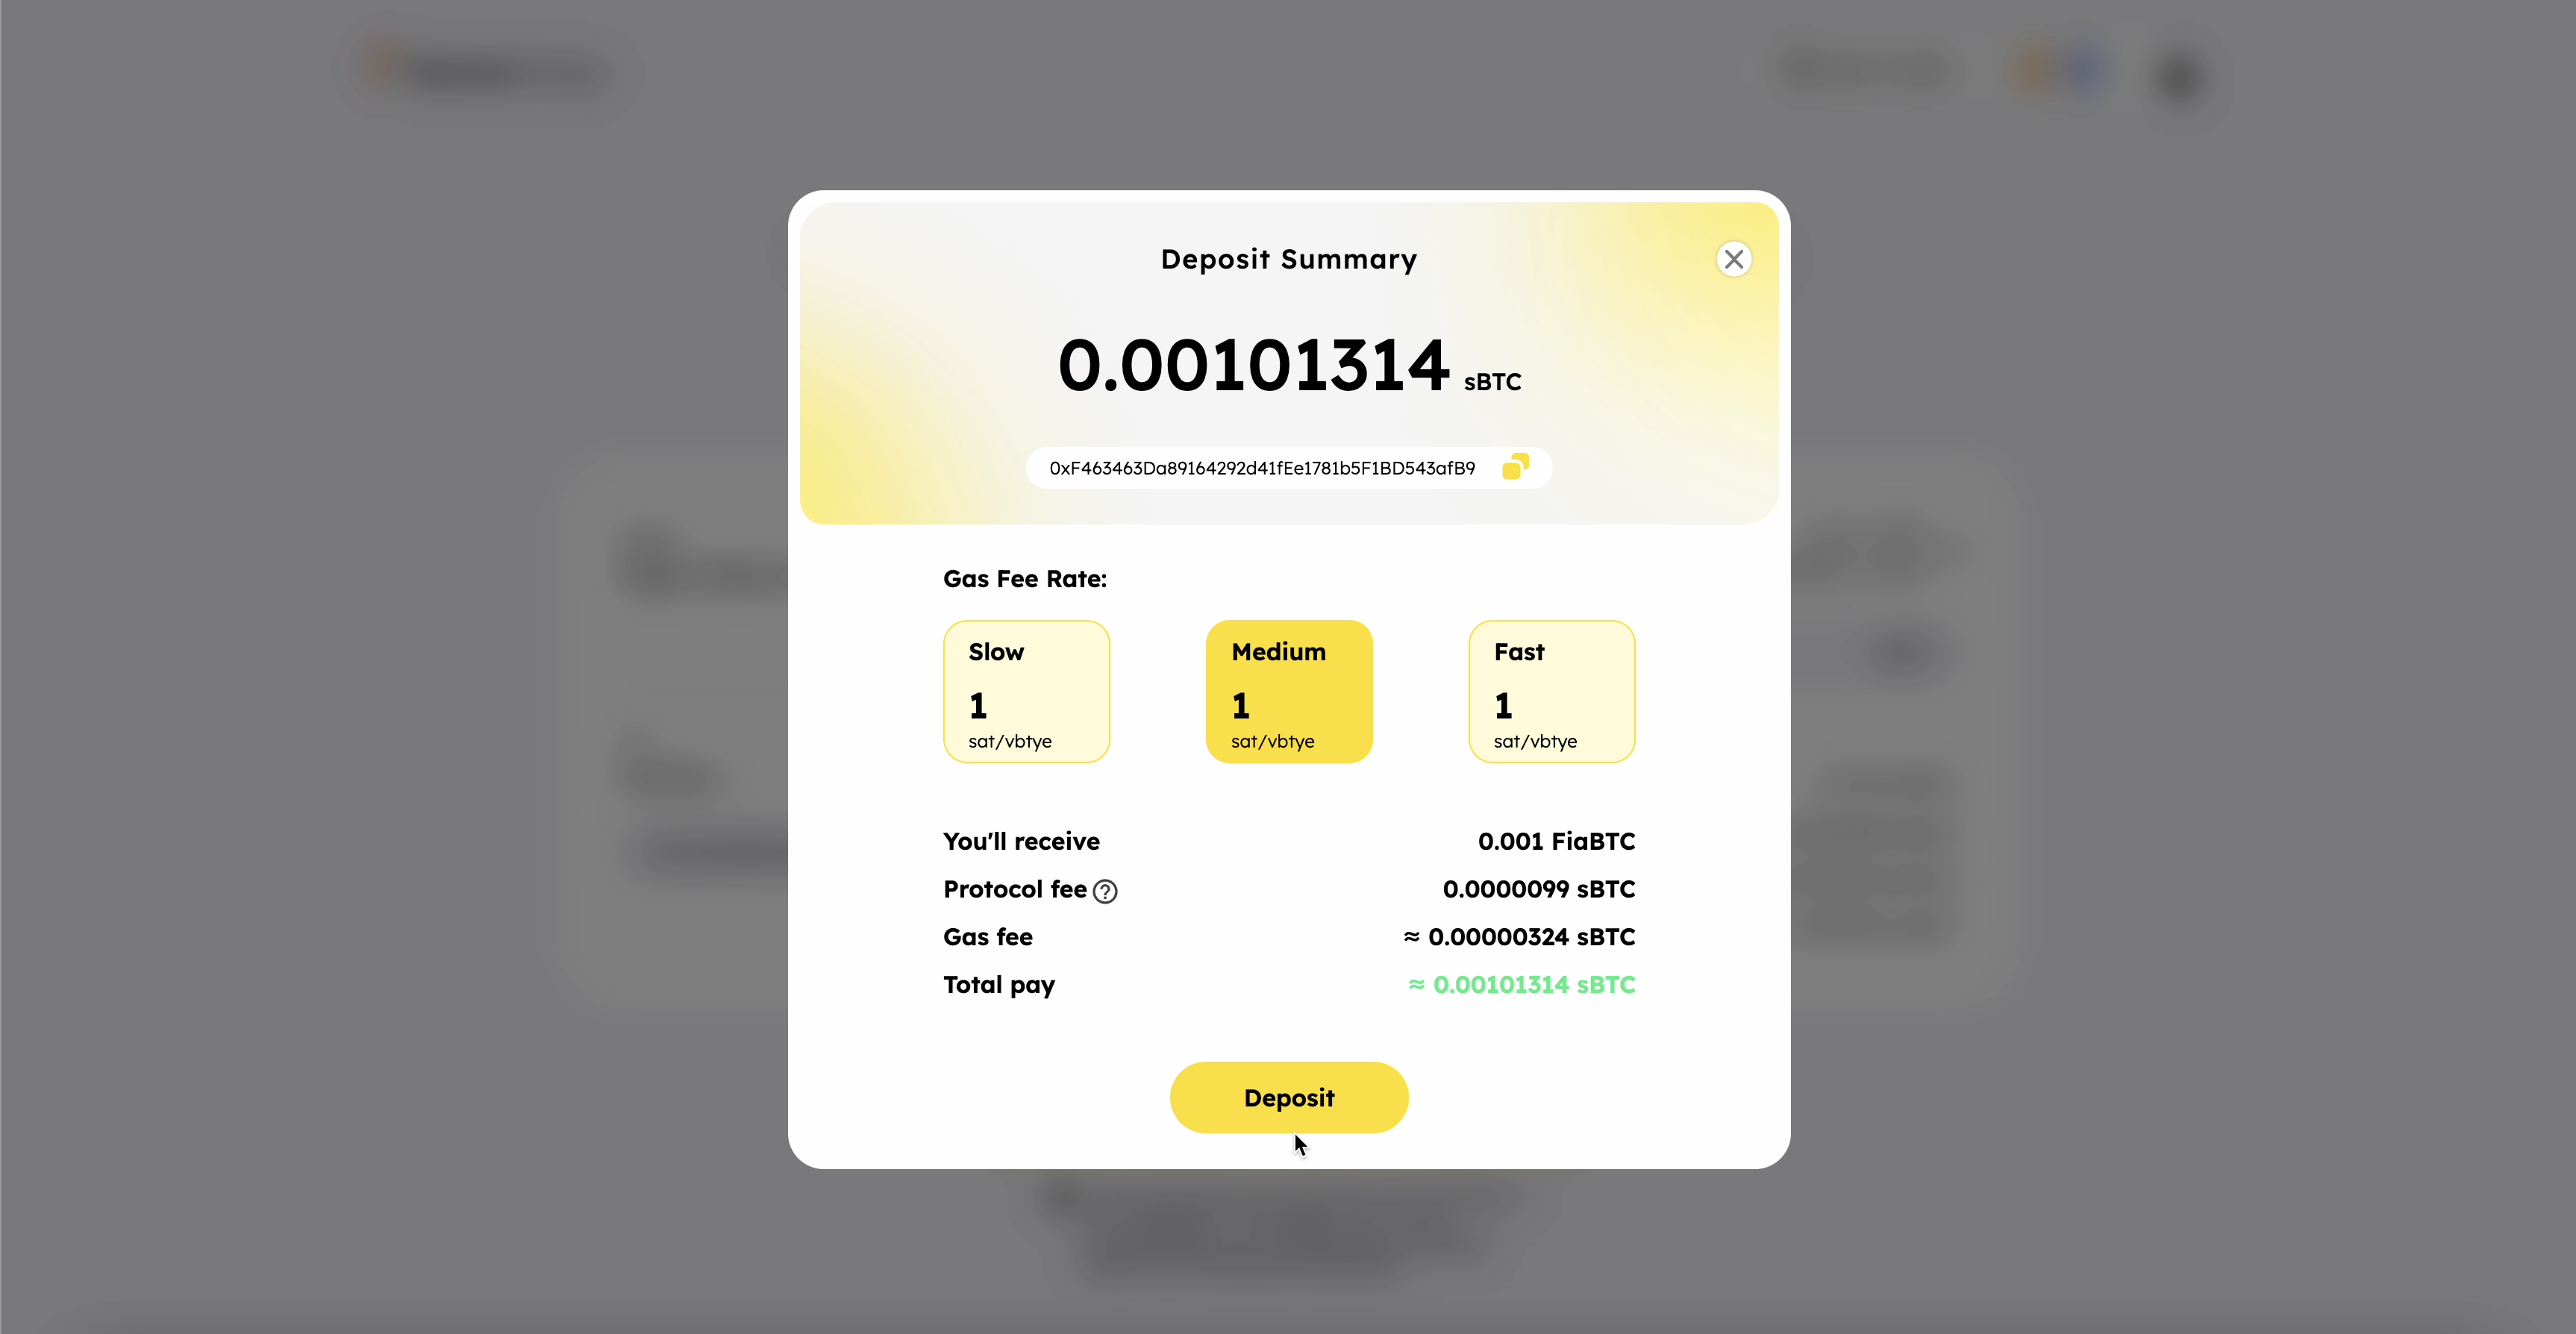
5. Check the Deposit Summary pop up. Once confirmed, hit deposit to submit this transaction.
6. Sign Deposit Transaction in your BTC wallet. You will also sign pre-sign Take Transactions simultaneously, which will be used to pay back to Operator when they finish Withdraw operation.
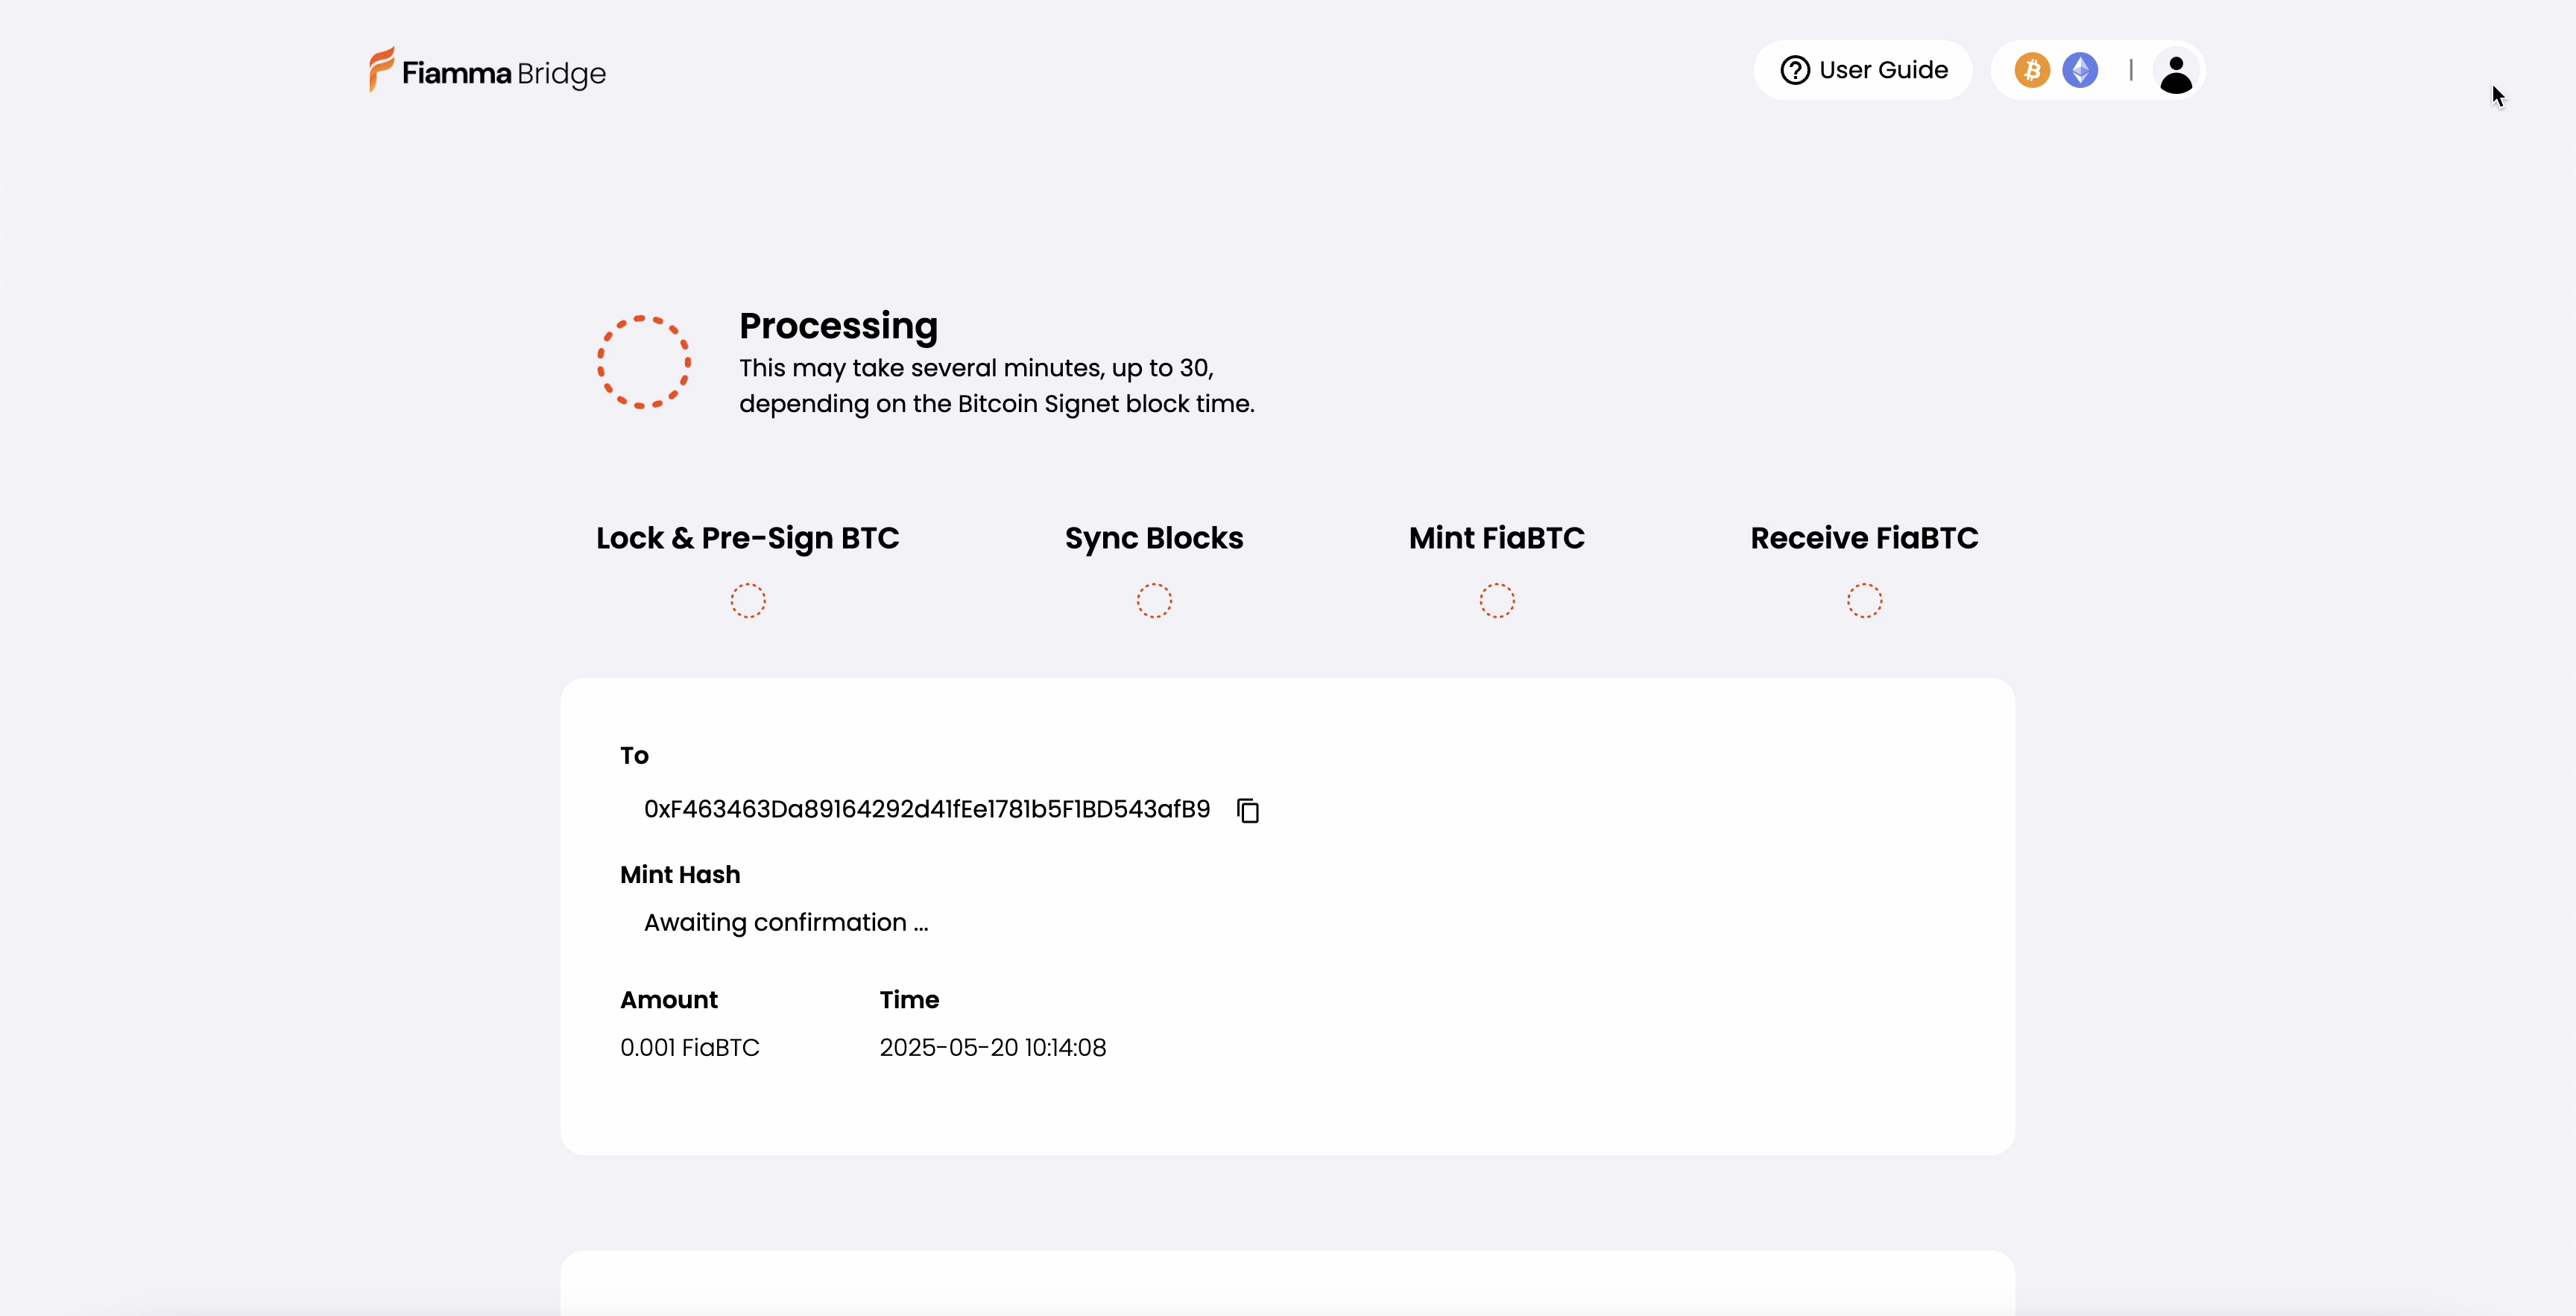
7. Your deposit has been submitted. You can then see the deposit progress in the new page.
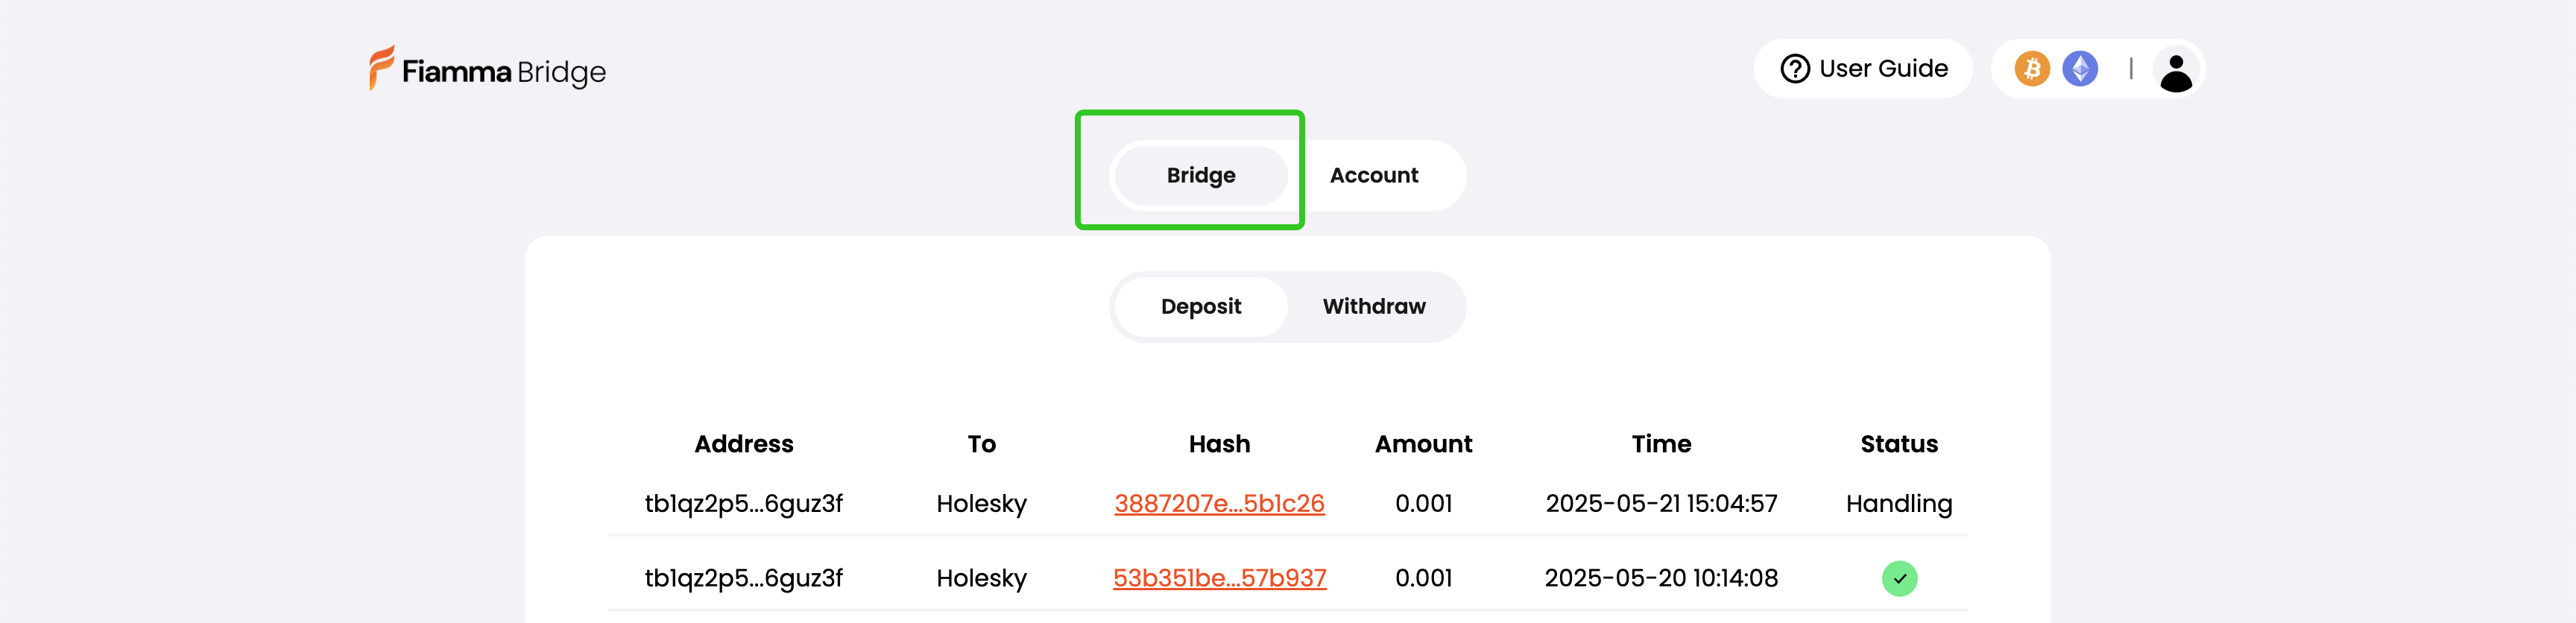
8. To see all transaction history, click on the account icon on the top right of the screen, and select bridge in the sub-menu.
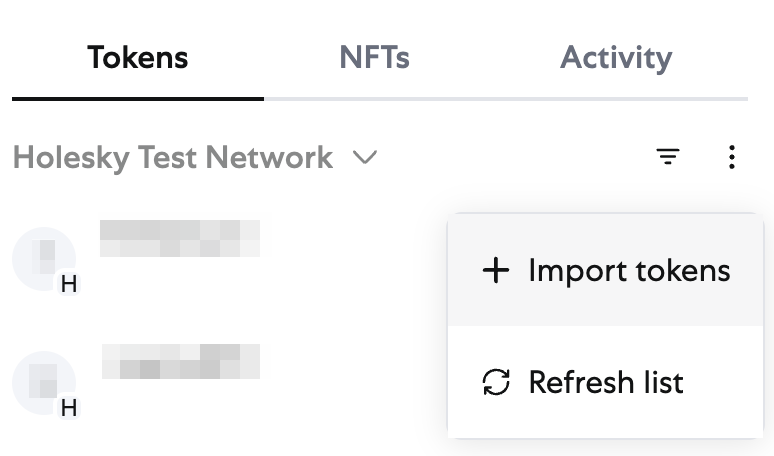
8. Once the deposit is complete, check your bridged BTC (FiaBTC) on destination chain wallet.
1. Import FiaBTC token for each destination chain. Enter the token contract address for each chain:
1. Ethereum Holesky: `0xD32B4fB574a3cCEB3576350D8A0e9011507F79d2`
2. BSC Testnet: `0x44F28b1dF5dE81D934272229498959A95d6a6264`
3. Monad Testnet: `0x859fb36f3Fe7e22b37dd99b501f891377DdC9c33`
4. Pharos Testnet: `0x40e75eF8Ea38A1e1362edD88234D327e14533992`
5. Plume Testnet: `0xd922BB00C0f7F555655e7c9e38D70E5636e6C615`
2. Check the amount in your wallet.
## How to Withdraw
1. Connect EVM-compatible wallets (e.g., Metamask)
2. Fill out the recipient address on Bitcoin.
> If you have connected to a BTC wallet, an autofill option will appear below the text field
2. Enter Withdraw amount
* The bridge supports two modes: Express mode and Custom mode.
* Express mode: Faster but with limited amount options. Pick the closest amount you entered to withdraw.
* Custom mode: Withdraw any amount you entered.
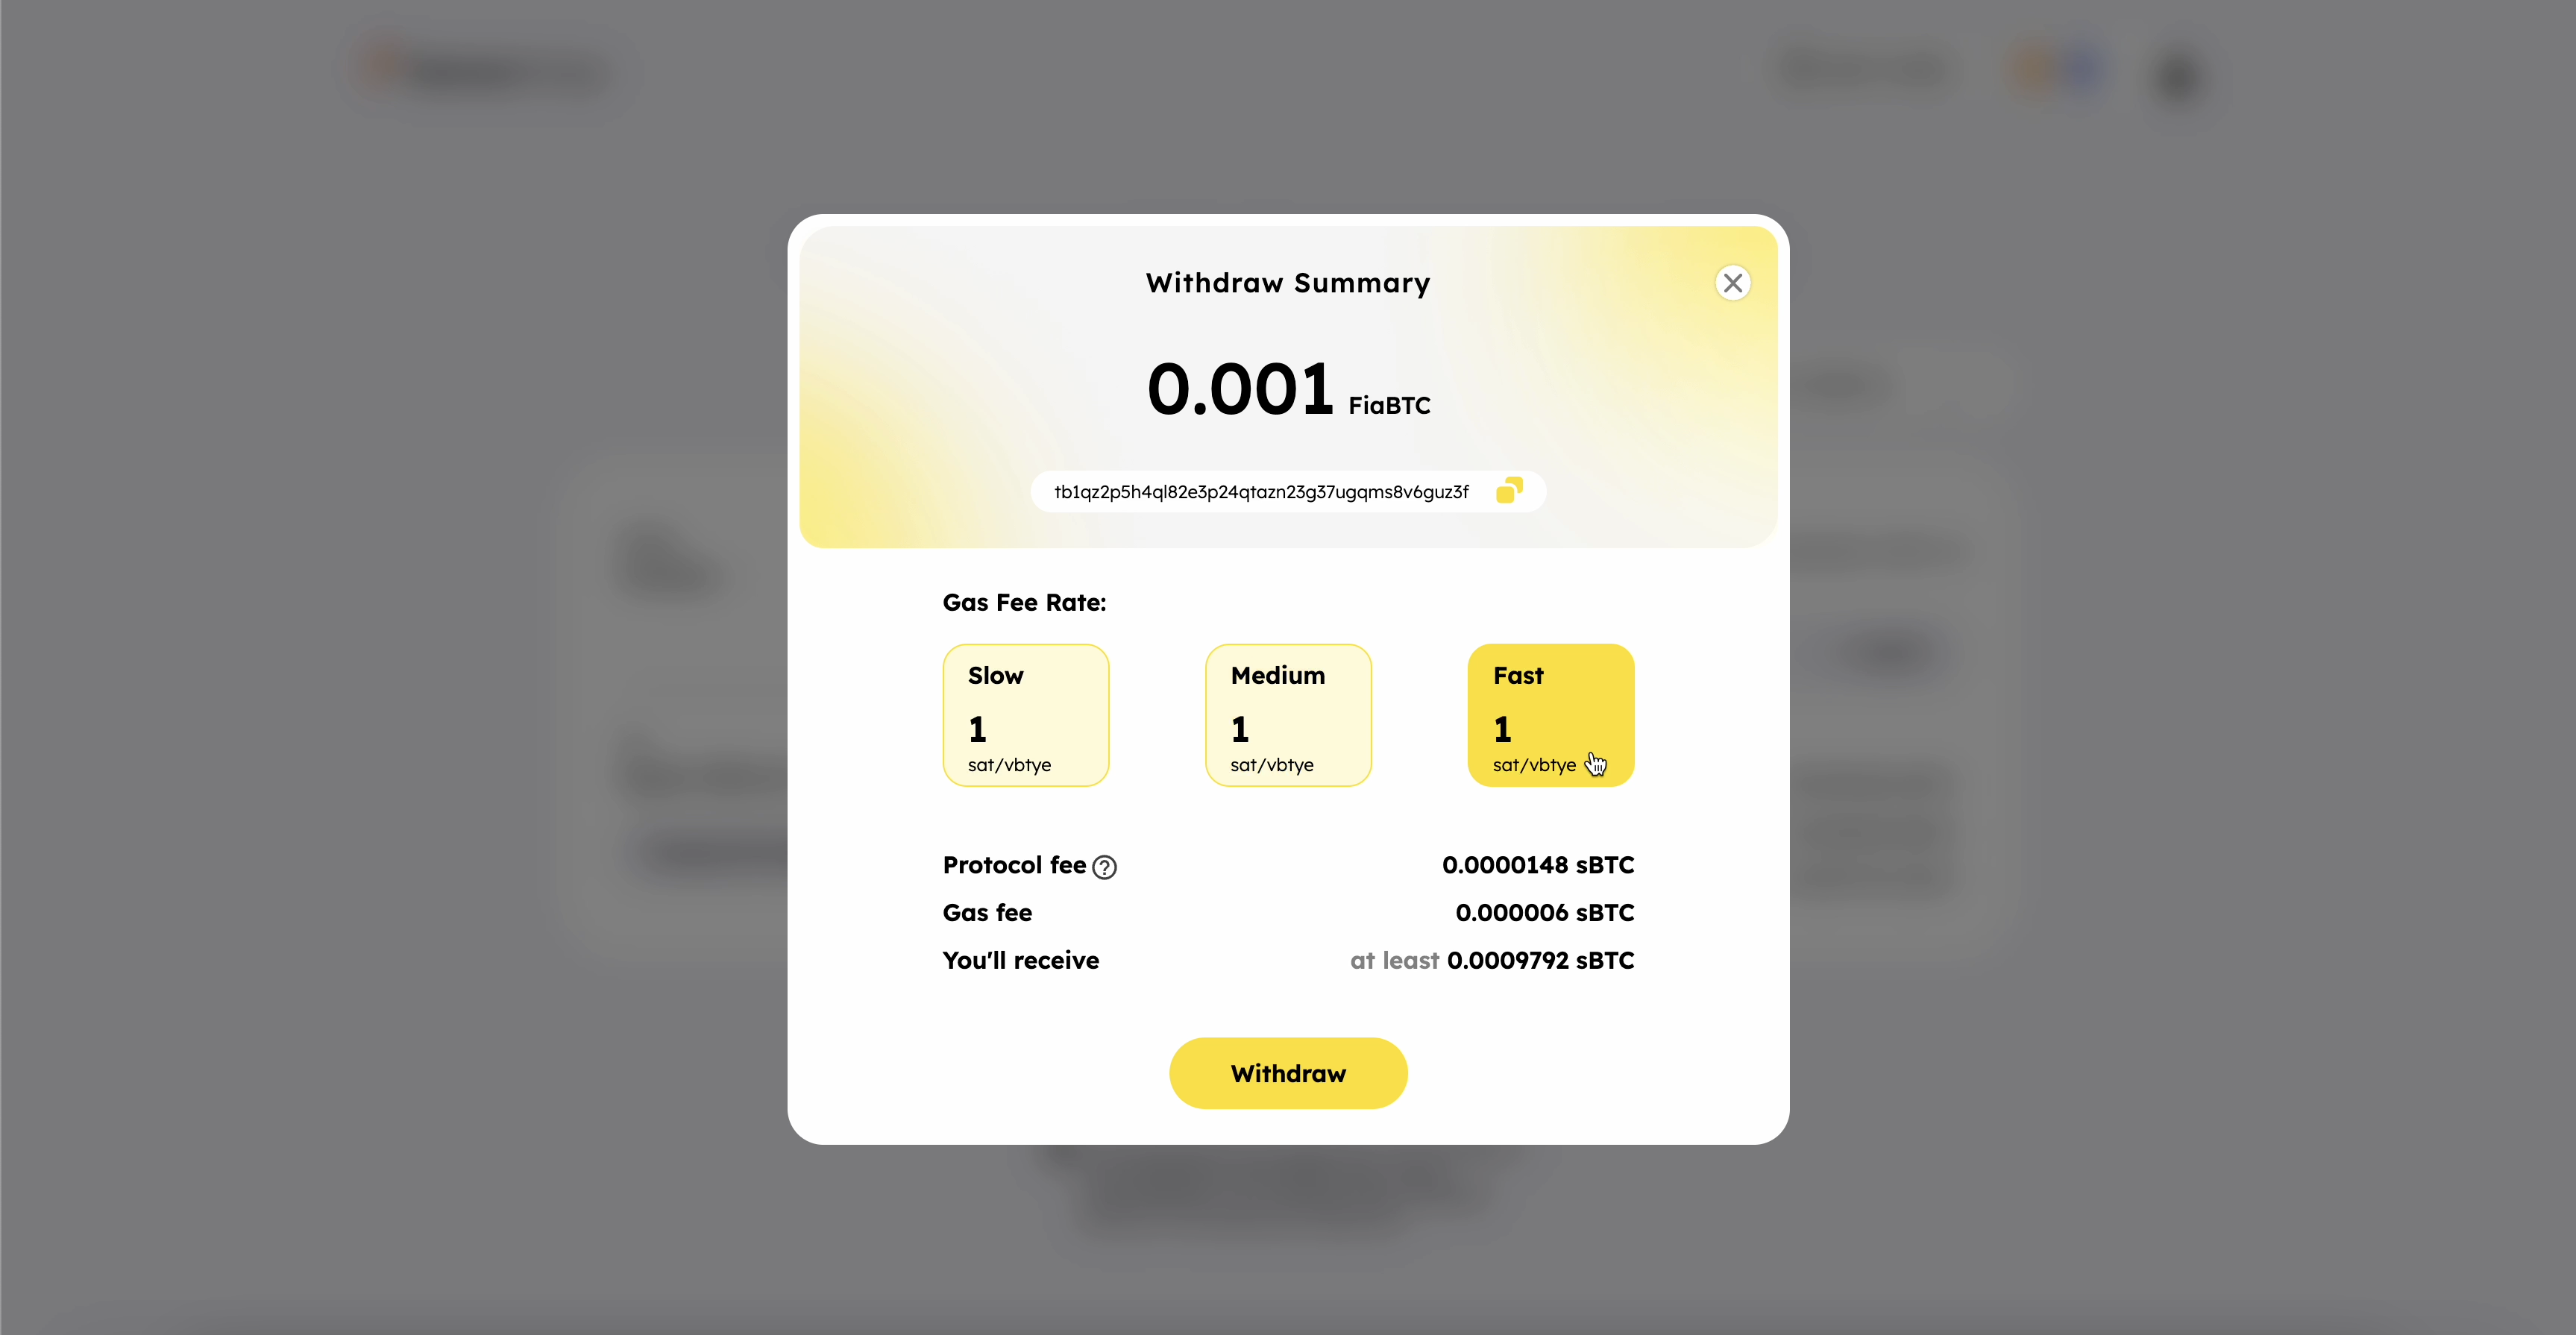
3. Check the Withdraw Summary pop up. Once confirmed, hit withdraw to submit this transaction.
4. Sign Burn Transaction in your EVM wallet.
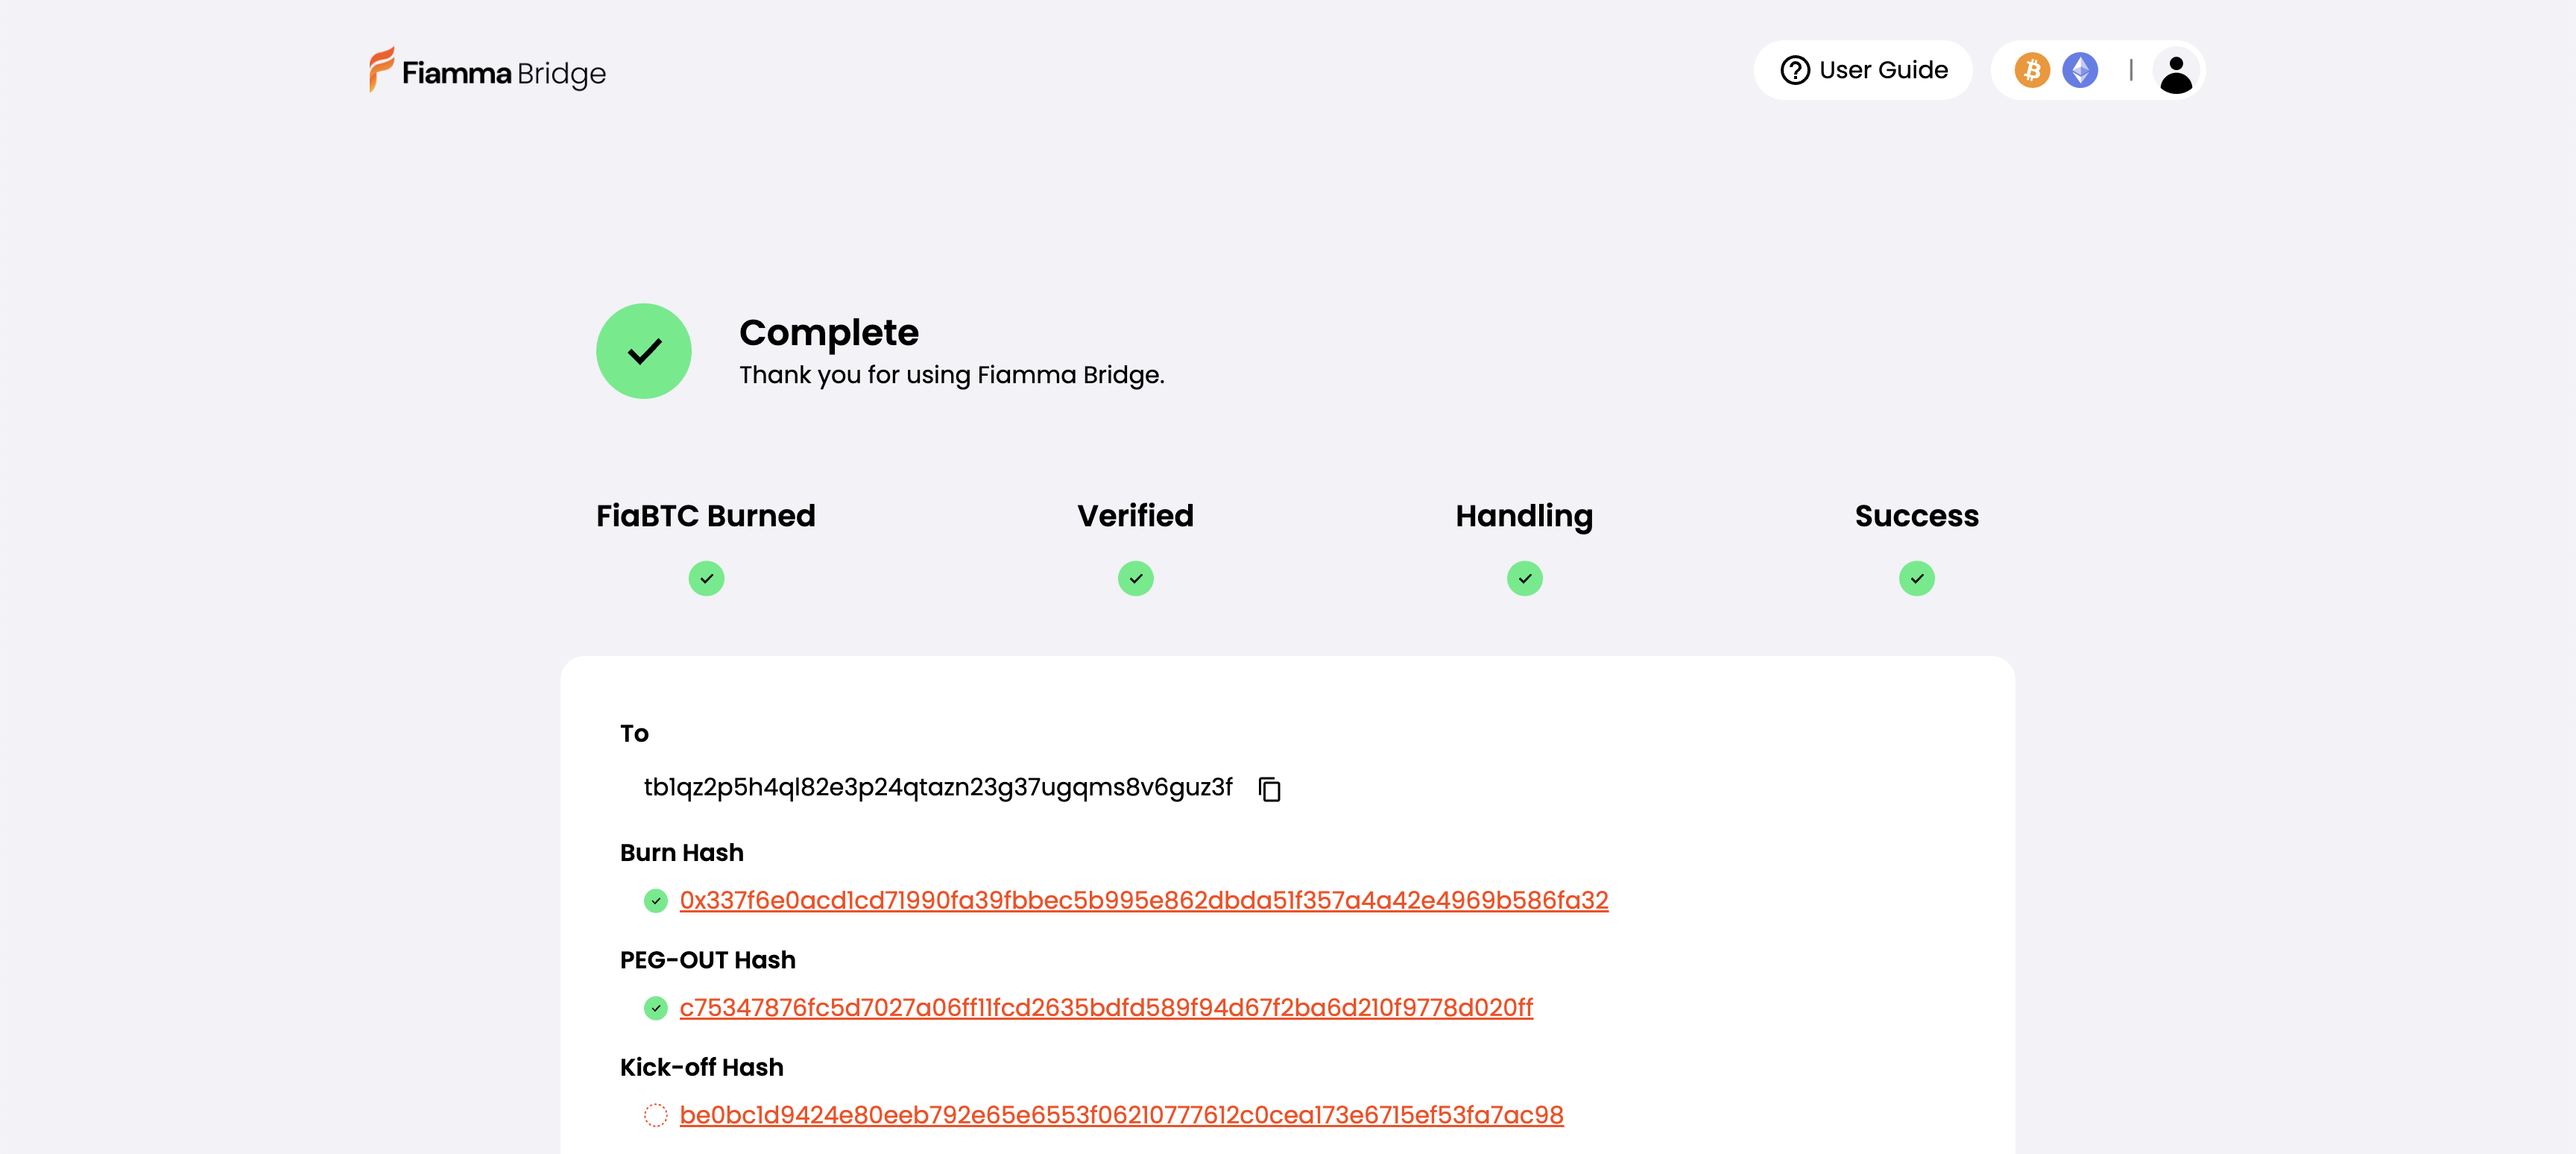
5. You can also check the Withdraw status under bridge history.
> This process may take 10-20 minutes to be confirmed on the Signet.
* Click on one of the transactions to see detailed progress.